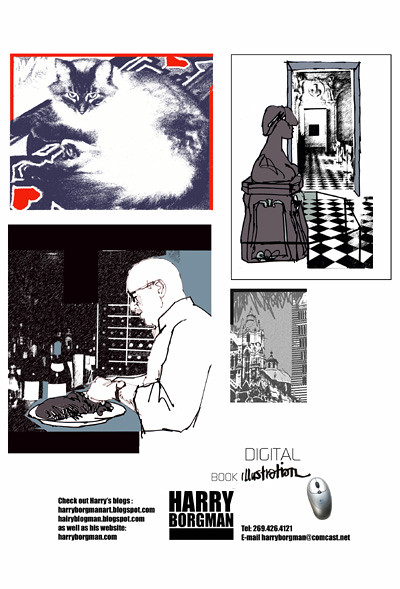
Here are a couple more brochures that I intend to send out to book publishers.
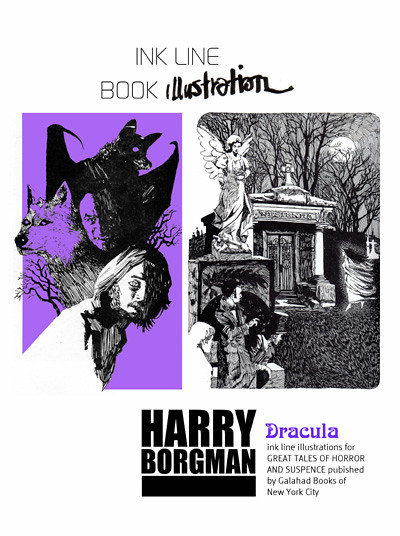
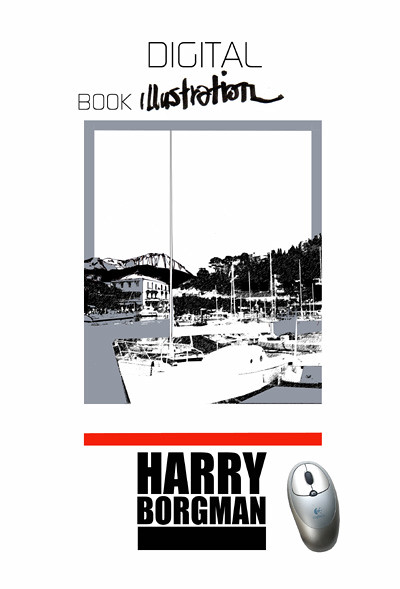
The cover.
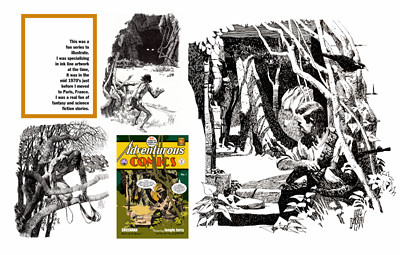
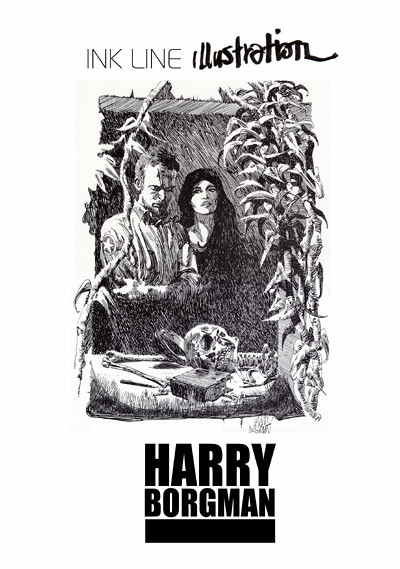
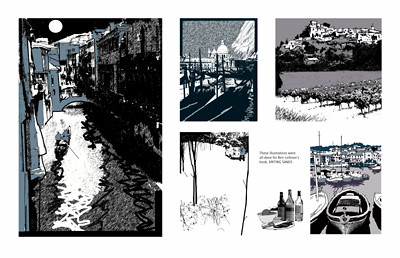
The interior spread.
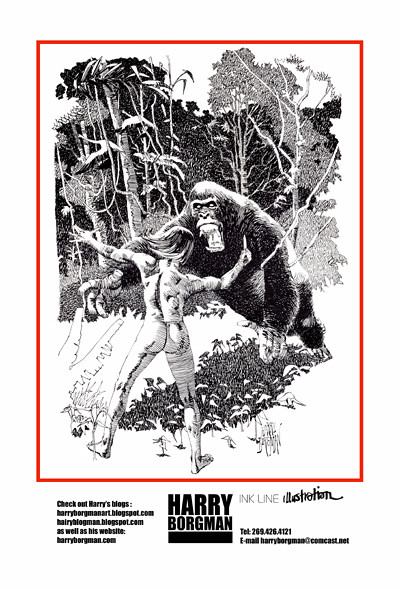
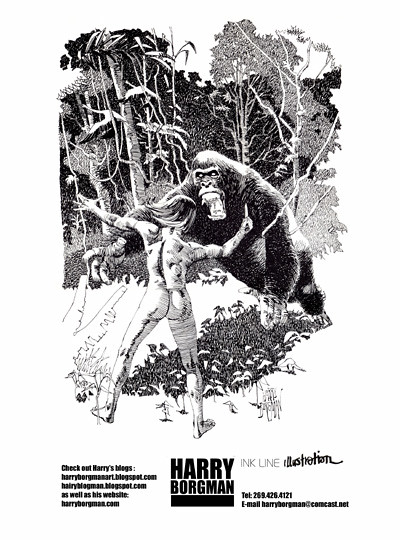
The rear cover.
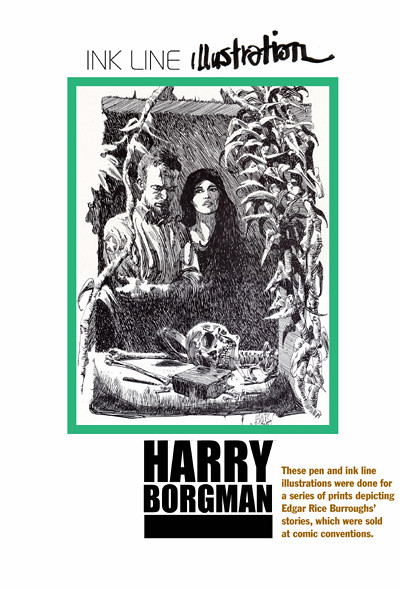
The brochure below I have posted before and I have added some color to make the design more interesting.
The color border makes the cover a little more interesting.
On the interior spread I have also shown how I adapted one of the illustrations for my comic book cover parodies.
The rear cover.
Thursday, February 24, 2011
Tuesday, February 22, 2011
Promotion brochure for CD album covers
I'm designing some promotion brochures to send out. This one shows some of the CD album covers that I have designed. The art was done on the computer using Photoshop Elements 2.0.
The cover of the brochure with one of the covers that I designed for Eclectica.
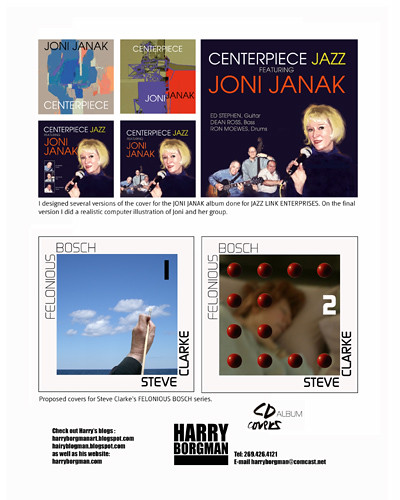
Here is the rear cover showing albums for Joni Janak and proposed covers for Steve Clarke's group.
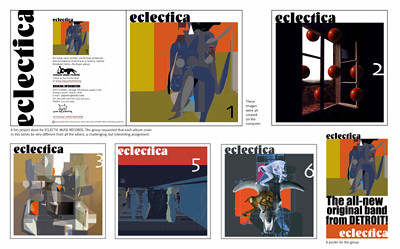
The interior spread of the brochure showing all the covers done for Eclectica.
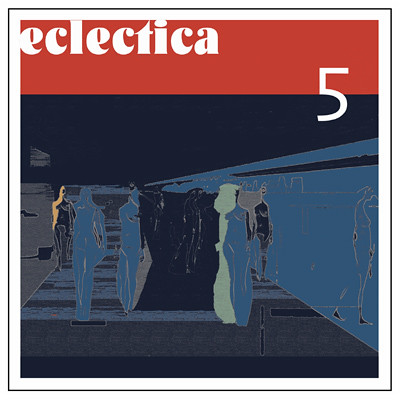
Close up of cover number five with an abstract scene created on the computer.
A poster done for the group.
Monday, February 21, 2011
Thursday, February 17, 2011
Digital self promotion
The computer is not only great for doing graphic design and interesting illustrations, it is a very handy tool for creating your own promotional material. I decided to send some material to art reps or possibly book publishers and record companies and am working on some promotional brochures highlighting my ink line illustrations as well as some of my digital work. Below are some of the covers that I have completed.
This brochure highlights the ink line illustrations that I did for a book on Dracula.
This brochure shows examples of my ink line work that was done for a group of prints that illustrated some Edgar Rice Burroughs' stories.
Above is the rear cover for the previous brochure.
A brochure featuring paperback covers that I have illustrated.
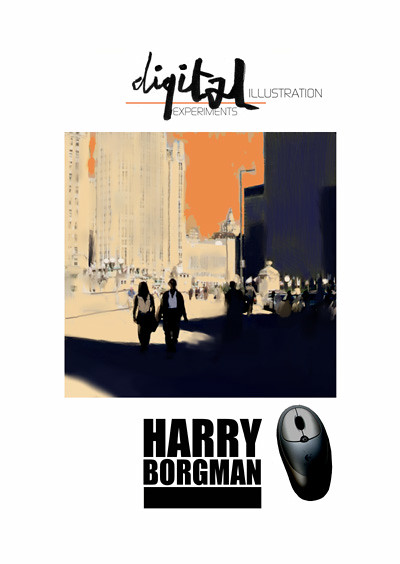
My digital illustration experiments will be shown in this last brochure. The size of the brochures are 8.5 x 11" and will be printed on my Epson Stylus Photo R1800 printer.
Thursday, February 10, 2011
A simple portrait computer demo
Here is a very simplified version of a quick portrait sketch done on the computer using Photoshop Elements 2.0 and Painter Classic. It's a portrait sketch of Gloria and myself and is a great way to practice painting digitally.
I began by first drawing a quick sketch using a regular pen, then I added the heavy accents with a brush and India ink.
Next, I added some flat colors with the Paint Bucket Tool.

Then I decided to tone down the heavy black line by adding a color to it, softening the image.
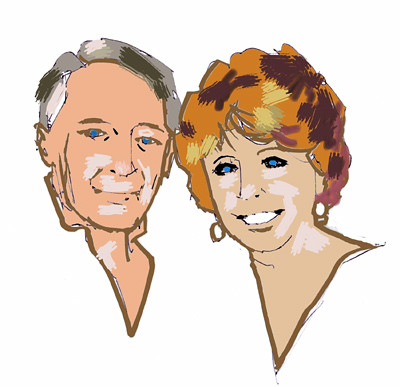
I opened the image in Painter Classic and added brush tones to the hair as well as a few lighter skin tones.
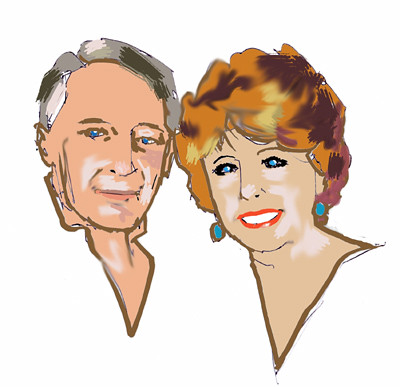
I brought the image back into Photoshop and softened some of the tones using the Smudge Tool. Adding the lipstick and earring colors finished the sketch. Remember this is just a quick sketch, I could proceed further to create a finished portrait. For learning purposes, doing many rough sketches like this one will give you confidence and knowledge that will help you greatly when attempting more finished paintings.
Tuesday, February 8, 2011
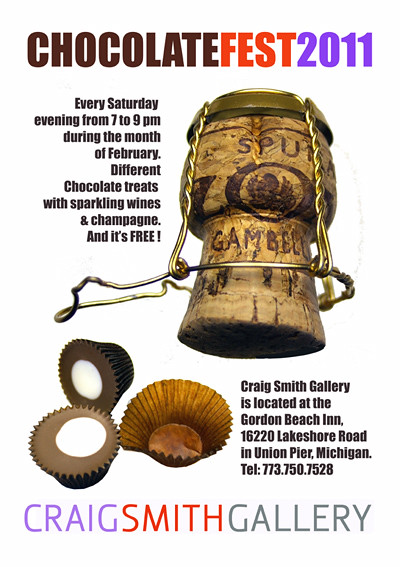
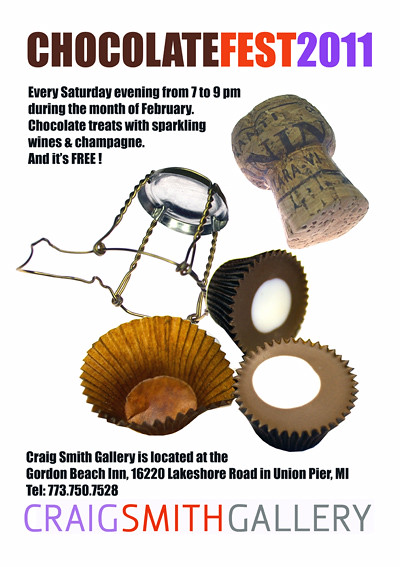
A couple more gallery posters
Saturday, February 5, 2011
Another gallery poster
Tuesday, February 1, 2011
New gallery poster
Subscribe to:
Posts (Atom)